Screen cast is a digital video recording of your computer screen. These videos often contain voice-over narration and are useful for demonstrating how to use specific software applications and website features. Some of the most advanced programs have the ability to also show a webcam capture and do some video editing. Screencast are a very powerful pedagogy tool that can extend course content. Well-conceived planned videos can engage students in educational activities. For example: you can record yourself explaining a glass slide, explaining a powerpoint presentation, or teaching grossing skills.
1. Train: Record procedures on particular topic showing a step-by-step process. Students can learn at their own pace or catch up missed lectures. Orientations can be also achieved by using this technology.
2. Teach: Record lessons and make them available 24/7 and give studnets sudiovisual feedback for a more personal approach
3. Communicate: Opinions, facts or ideas can be recorded and shared using social media.
In this blog I explain 2 of the most popular and useful screencast application. Both are completely online with no need of installing software in your computer. More applications are listed at the end of this document
1. Name of the Web 2.0 Tool: Screenr
2. URL of the Tool: http://www.screenr.com/
3. Please select the one, primary category for this tool: Presentation Tool.
4. What is screenr?
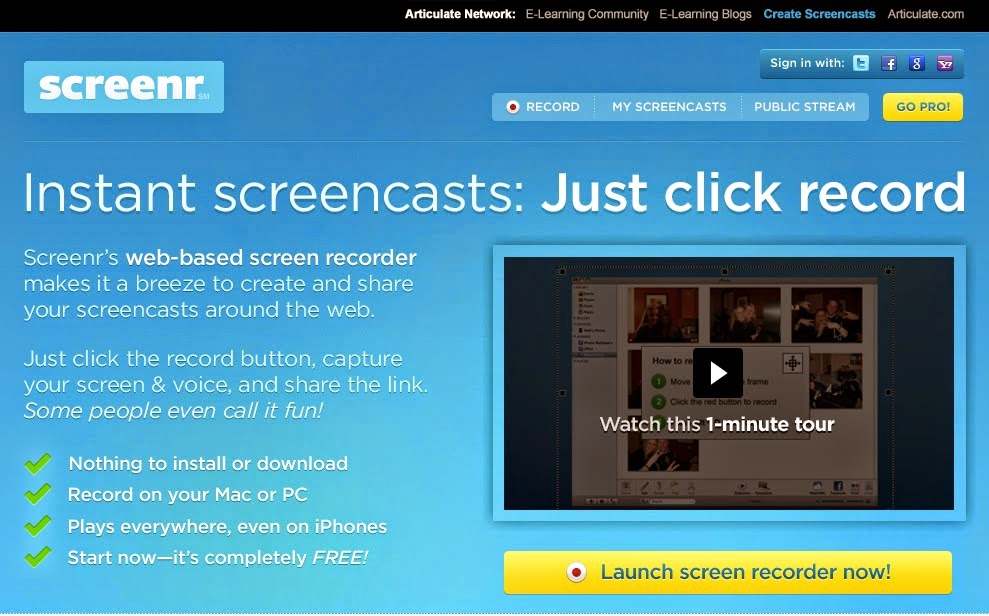
Screenr is a web-based java-powered screen recording tool. It allows the user to record screencasts fast and share them immediately. A screencast is a digital video recording of the computer screen often containing audio; whereas a screenshot is a still image of the computer screen. The program is very user friendly with a simple interface making the whole process very straight forward. Just click on the home screen “Launch screen recorder now”, select your area and start recording. The free option allows up to 5 minutes recording. The recorded videos are uploaded and hosted on the same website in a seamless manner. You can then share your screencast and play them via Flash or HTML5. Screenr lacks the fancy video editing features but you can download any of your own videos in mp4 format for more advanced video editing. Screenr is free, easy to use, and accessible making it a powerful tool for many educational applications.
5. How to create a screencast using Screenr? (see intructional video here)
1. go to Screenr.com
2. Click on Launch screen recorder now!. Note: if this is the first time you run Screenr the app will check for Java instalation. If Java is not detected the page will instruct you to install the free java
3. Size the recording frame
4. Click the red record button and start to record
6. Type a description and click on Publish to share your recording
7. You can also share the screencast by copying the URL or embedding the code into your own website.... (or at least that is what the site says because I could not upload it getting the following error).
6. What do you need to know before using this tool?
It is important that you know if you have java installed and enabled into your system. In some computers Java may be disabled for security reasons and the app will not run. I would also suggest you have a good idea what to say in your recording before you start since this a realtime video you are creating. Having a good microphone may be a good idea too.
7. Advantages and disadvantages of using this Screenr in a formal or informal teaching environment
The major disadvantage is that is a java-based tool and some computers (like mine at work) have Java disabled due to security concerns. I was unsuccessful to upload a video after 2 days of trying using my mac (see reported errors). Also google chrome does not support Java and will not run. It is free, easy to use, and your content can be available immediately. Overall, screencast is an effective way to share ideas and deliver content. However, the constant errors and the fact that is a java based tool make this tool questionable and unreliable. Some may find Screenr useful but I would probably stay away from Java based tools.
2. URL of the Tool: http://www.screencast-o-matic.com
3. Please select the one, primary category for this tool: Presentation Tool.
4. What is screencast-o-matic?
Is a web based tool for recording and sharing screenshots. With just a few clicks, you can start recording your screen, and once you're satisfied with your video, you can upload it directly from there.
5. How to create a screencast using screencast-o-matic?
1. go to http://www.screencast-o-matic.com
3. Click on Record Screencast. You will see the following screen
This is how it looks if you select to record both the screen and webcam
5. Click the red record button and start to recording
6. Click Done to finish and select if you want to save it to you hard drive, or share it on SOM or Youtube
How other Web 2.0 tools compare?
Here is a little comparison table I made on browser based screencast tools
| Screenr | Screencast-o-Matic | Screencastle | |
|---|---|---|---|
| time limit | 5 min | 15 min | unlimited |
| inputs | screen, mic, webcam | Screen, mic | Screen, mic |
| Editing | No | No | No |
| Publishing | Screenr hosting, Youtube | YouTube with watermark | Files are created on the local PC. No hosting provided |
| Downoad formats | MP4 | MP4, AVI, FLV | unknown |
| Java | Java | Java |
There are other tools I found online such as Screenmailer, VoiceThread, CaptureFox, and Snagit for google Chrome.


No comments:
Post a Comment